
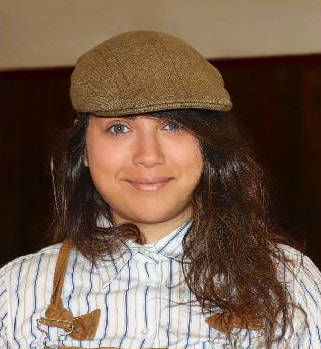
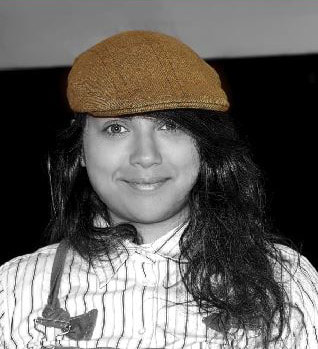
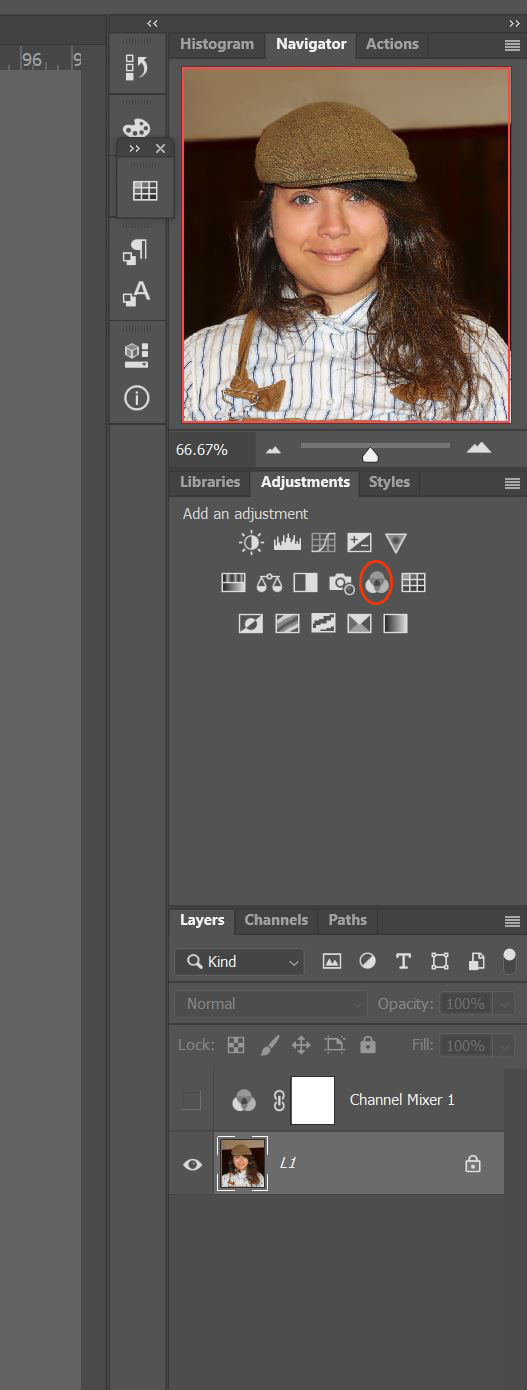
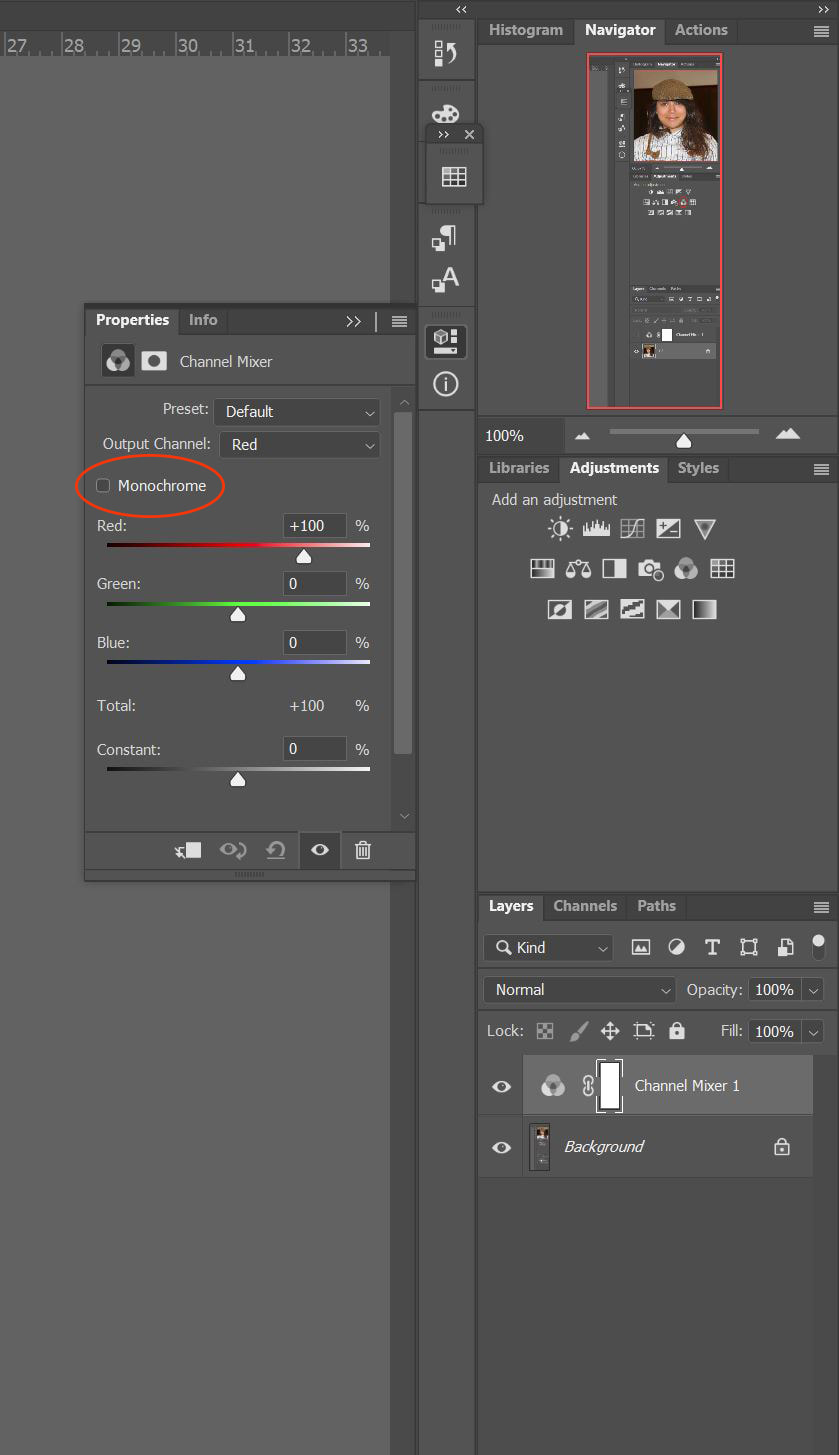
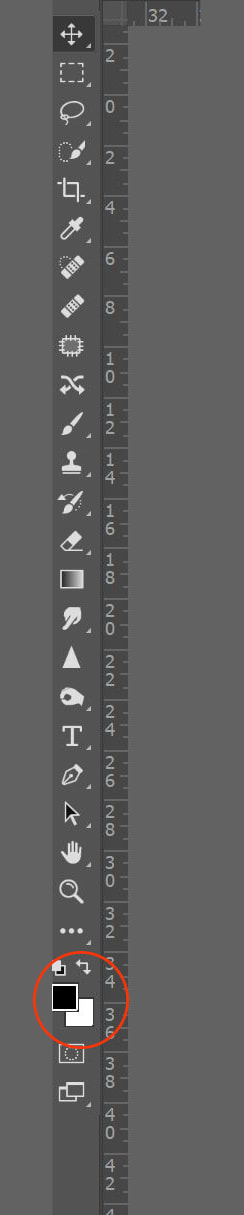
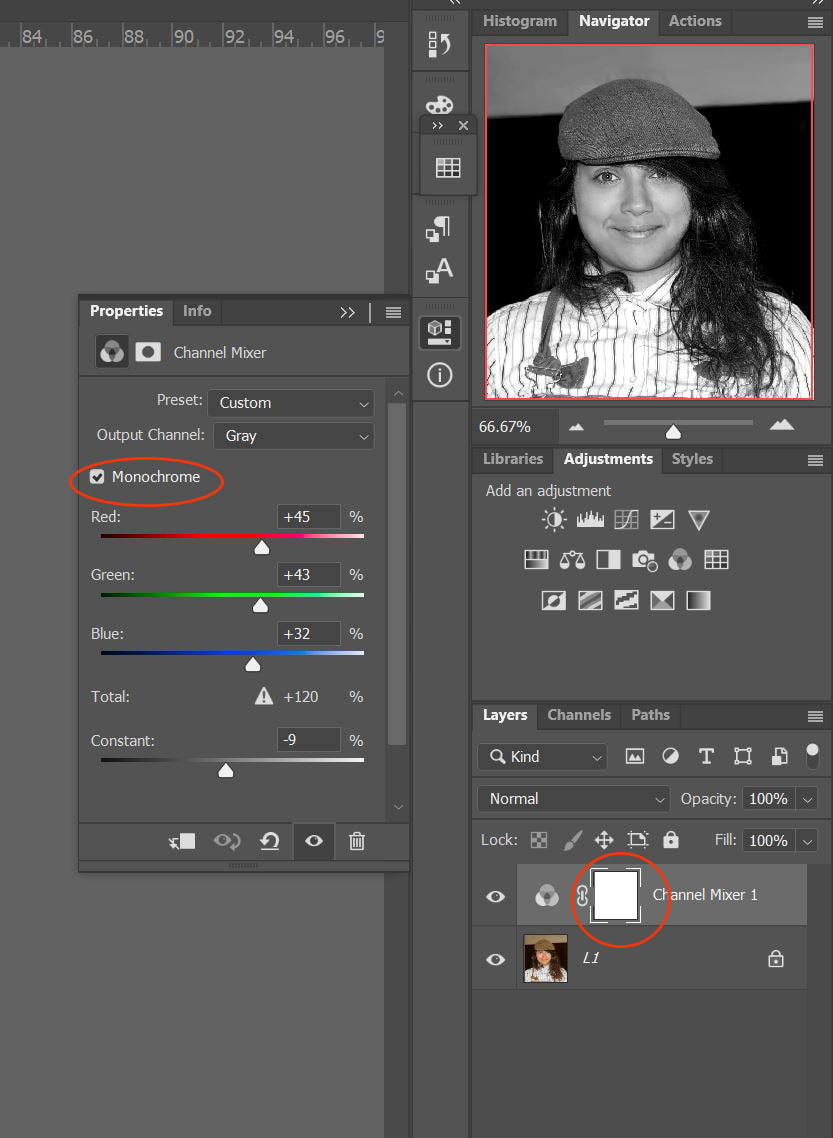
Here's another tip from Club member George Hay. This time how to use Photoshop to convert a full colour image into monochrome but also leave an area in its original colour. Click on the images below for a full size version of each figure mentioned here.
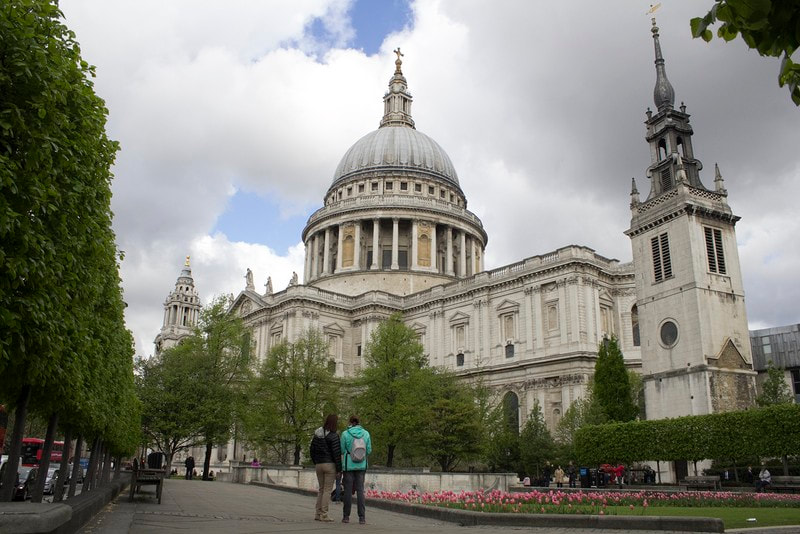
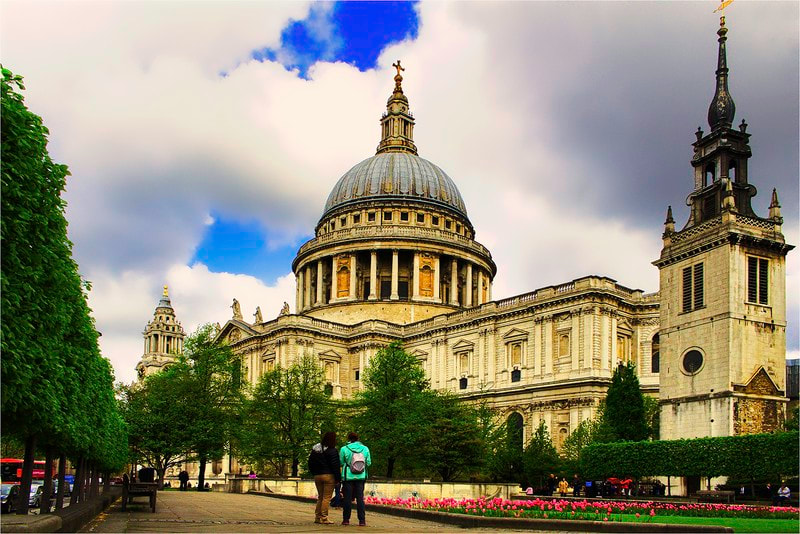
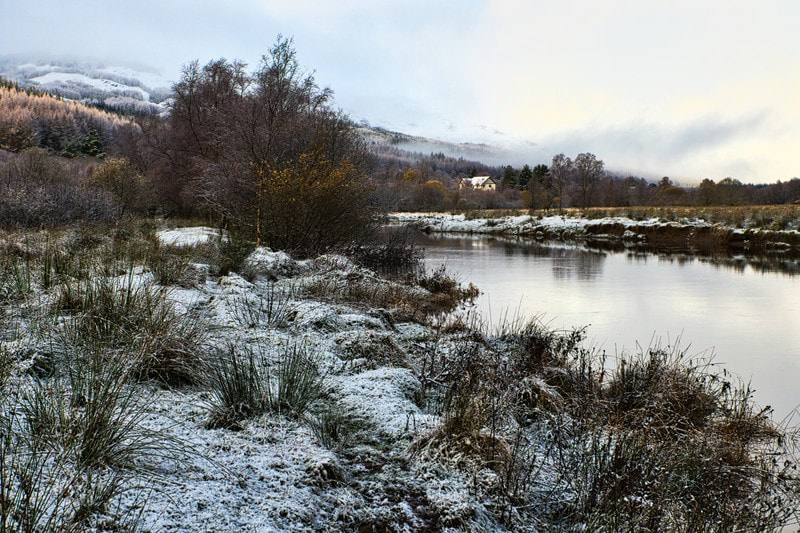
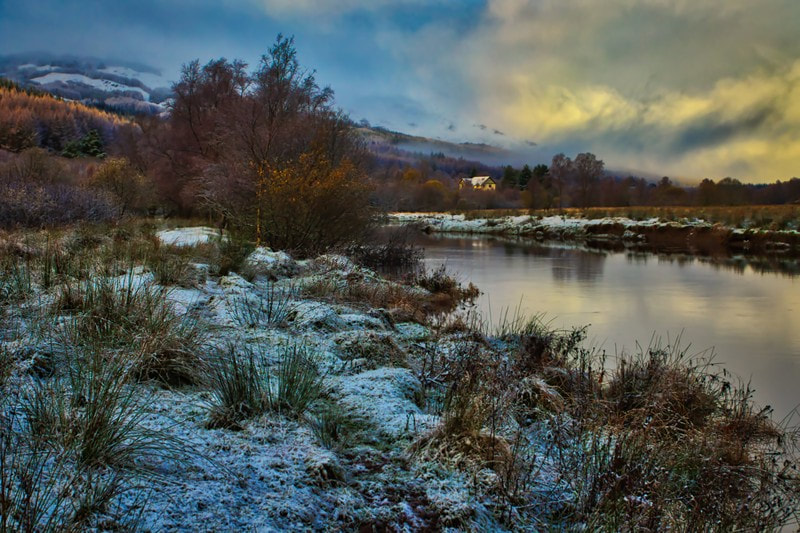
A few weeks ago one of our members, George Hay, gave a presentation on the art of using the Luminar 3 photo editing application. The photos below show a little of what can be achieved with Luminar with a lot less effort than using the likes of Photoshop. The before versions are on the left and the after versions on the right. Click on each to see a larger version. Introduction When I started using Photoshop I had trouble colour correcting them. I did a little research and found this method. I did have to play around with the settings to get the results I was looking for. I changed the Eyedropper Tool measurement settings. The other thing I changed was the background colour. I was using a black background, but when I changed it to Neutral Grey they looked to me to be much better. There are many ways to sharpen an image in Photoshop (and other photo editors), some are built-in, others need a few steps using Photoshop's tools to get there. Here's one popular method, "Luminosity Sharpening", as described by Club member George Hay (the main benefit of this particular method is that it can reduce the coloured halos around edges that other sharpening methods produce). This should work with any Photoshop version from CS onward, but not with Photoshop Elements.
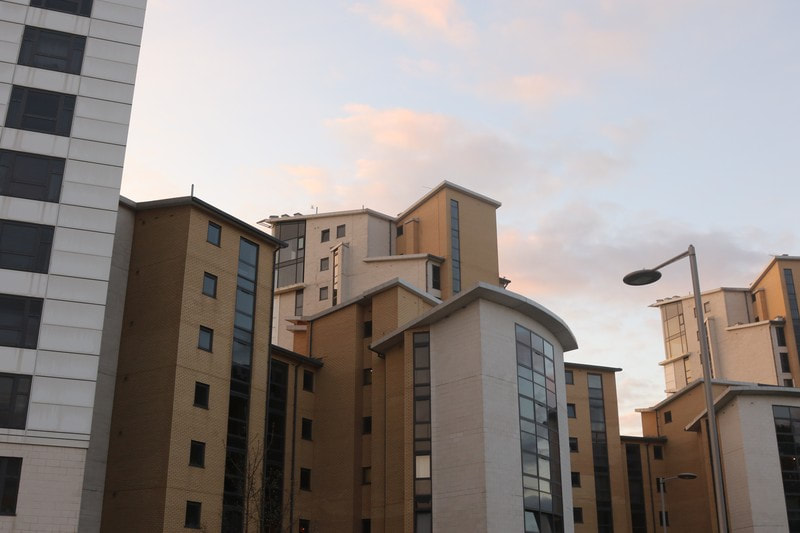
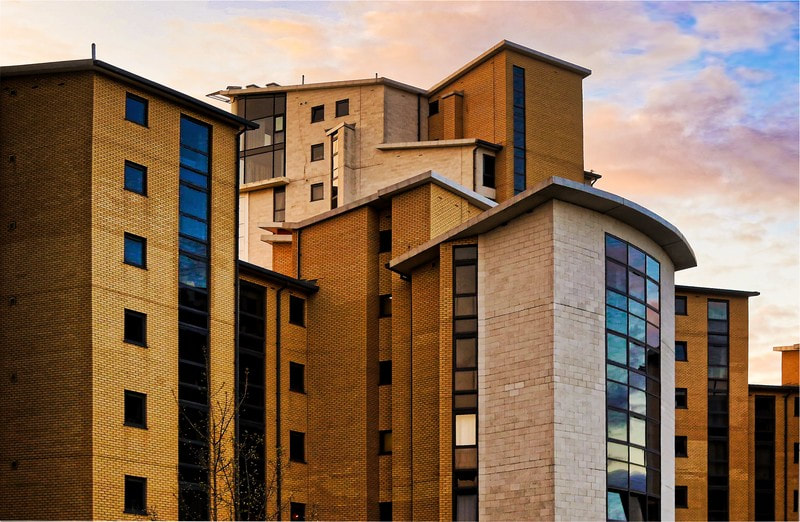
[Editor's note: For anyone using Affinity Photo instead of Photoshop, the steps are the same except that "Amount" in the "Unsharp Mask dialog is named "Factor" and the "Fade" option is under the "Layer" menu. Notice that for either program you must select "Fade" immediately after applying the "Unsharp Mask"] These are the results of the "one photo" challenge where members receive a set of digital images and are asked to produce their own interpretations of them. (I know, the title says "one photo" but we've expanded it to 5 images now as the previous events were so popular). So, here are the original images - as a single composite. 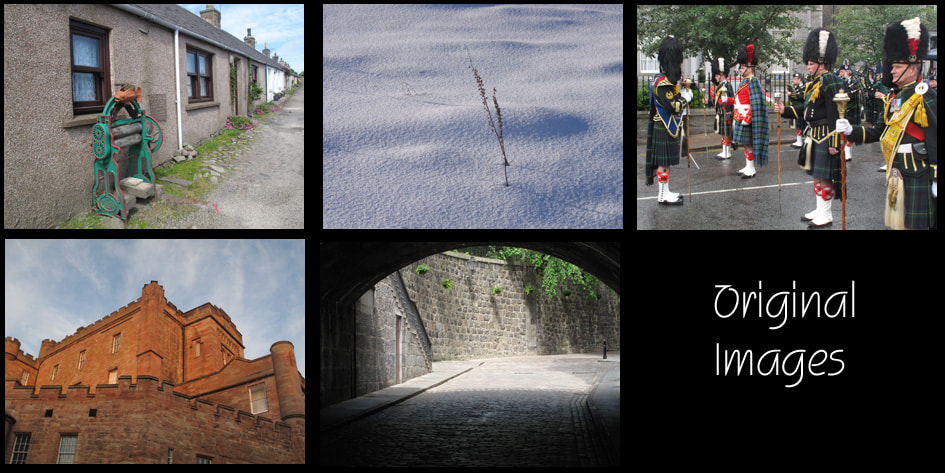 And here are what the members did with these - click on each to see a larger version. This technique is best performed on flat and drab photos and requires access to Photoshop or an equivalent. It is not going to make the colours look as they did, just make them look better.
The after image (on the right below) was treated using the above steps. The settings used are shown in the settings image. This "how-to" uses Photoshop CS6 to create a Lomograph effect. A Lomograph is created by processing slide film in negative chemicals, and print film in slide chemicals. Here are the before (on the left) and the after (on the right) images - click on them for a larger version. The start image has been adjusted a little in Photoshop before starting on this process.
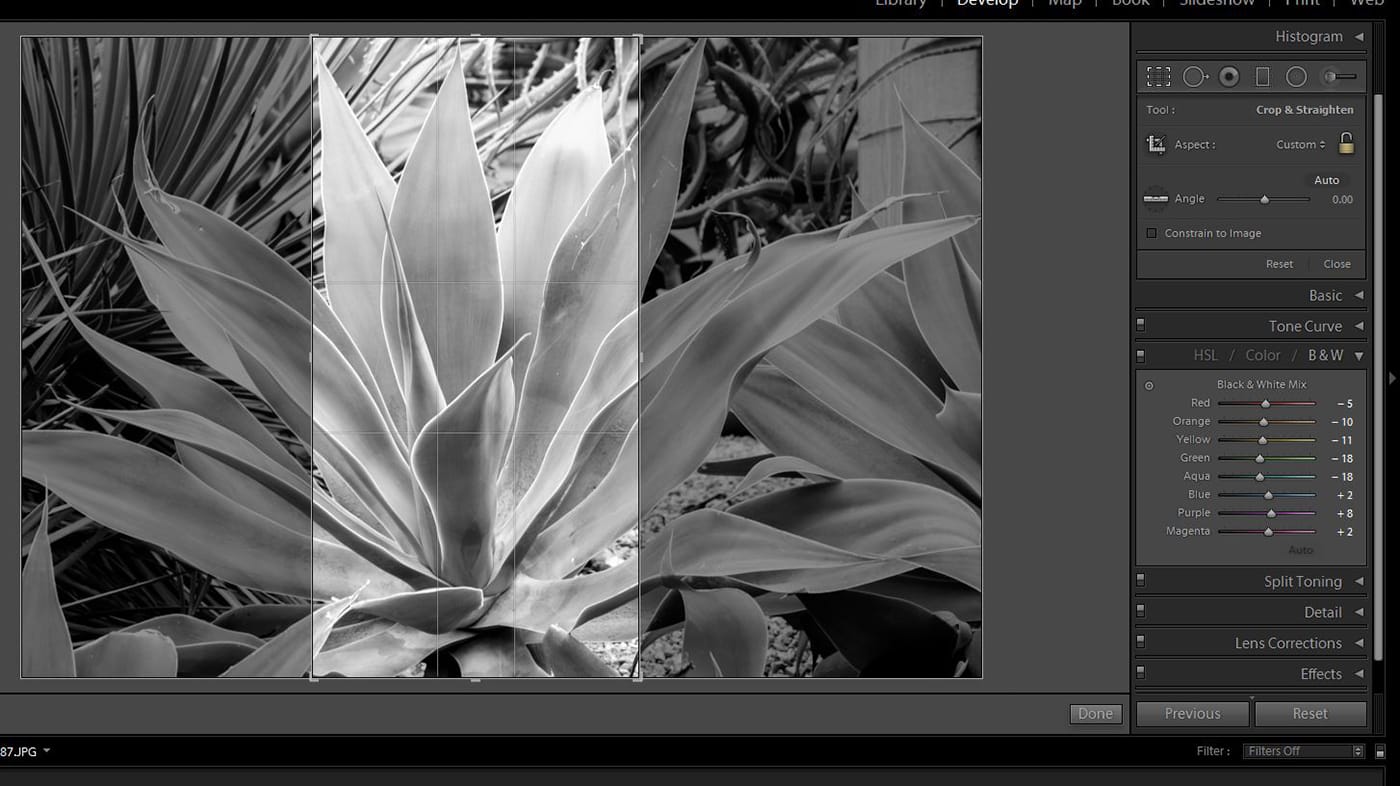
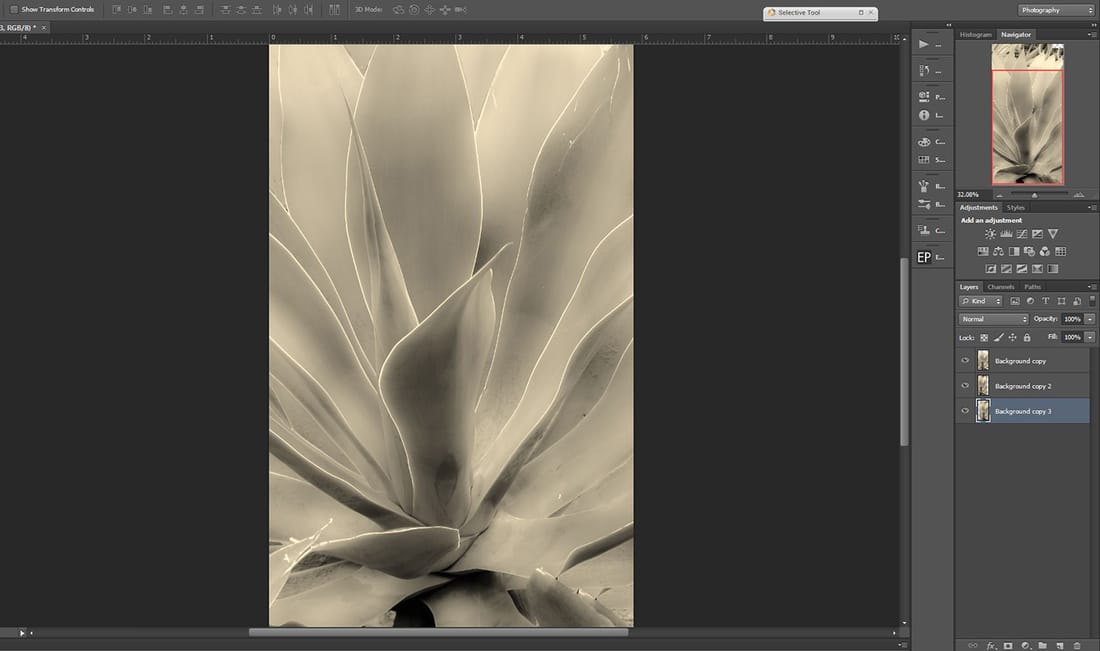
1 – Load your image into Photoshop 2 – Click the icon at top of layers palette, and select Convert to Smart Object convert the image into a Smart Object, this will allow non-destructive adjustment to the image as well as allowing adjustments to be adjusted. 3 – Go to the Filter menu and choose Lens Correction. 4 – Click on the Custom Tag and adjust the Vignette Slider all the way to the left, then click OK. 5 – Go to the Filter menu and select Blur Gallery, choose Iris Blur. 6- On the image adjust the Blur by placing the cursor on the Ring, and drag to near the edge of the image. 7 – To adjust the amount of blur, drag the Blur Slider or Type in the amount. I used a value of 5px then click OK at the top of the frame. 8 – Next go to the Filter menu and choose Sharpen, and then select Unsharp Mask. Set unsharp mask Amount to 80%, the Radius to 2.0 pixels, and adjust the Threshold to 0, click OK. This will add contrast to all the edges. 9 – Click the Adjustment Layer icon and choose Colour Lookup. Click on the Load3DLUT menu and choose filmstock_50.3dl. 10 – Click the Adjustment Layer icon again and click Photo Filter, I used Cooling Filter(82). You can experiment with the other filters too. 11 – Next I added a few Light Leaks. Make a new layer and change the Blend Mode to Linear Dodge. 12 – Select the Brush Tool and set the Hardness to 0, and the Opacity to 40%, and the Size to 600 pixels 13 – Change the Foreground Colour to Bright Red. 14 – Finally use the Brush Tool to click around the image to get your desired effect. by George Hay [This post shows how one of the images in last month's Club competitions was produced.] The start image in this guide was a jpeg. The original I used for the actual image was a RAW file. The steps described here are the same. The original image is the colour one shown at the left and the final image is on the right - click on the images to see larger versions. 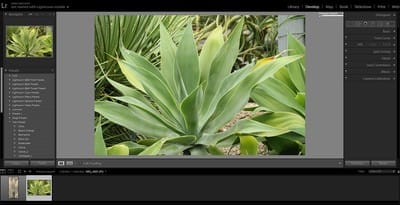 Step 1 - Load image into Lightroom. 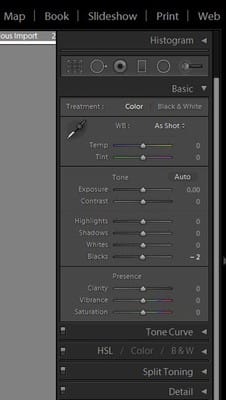 Step 2 - I adjusted the BLACK and WHITE sliders while holding down the ALT key to get the effect I wanted. Step 3 - I moved the HIGHLIGHT slider all the way to the left. Step 4 - I adjusted the lens correction to lens used.
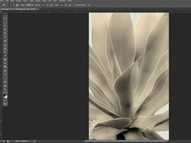 Step 7 - The image was then opened in Photoshop. Step 8- The clone tool was then used to repair damaged edges and flaws on the leaves.
Step 11 - The finished image was then saved as a jpeg at the right size for the Club's competitions.
by George Hay Photography means ‘writing with light’ But writing needs control. In photography one of these controls is the combination of aperture and shutter speed: EV or "exposure value".
Historically a problem encountered by beginners is understanding apertures and shutter speeds. Manufacturers have come to your aid by evolving automated exposure controls; aperture priority, shutter priority, program, matrix, spot, multi segment + different names for the same function by different manufacturers. The cure is now more complex than the problem. Aperture/ shutter speeds - ½ and third stops. The concept of apertures and shutter speeds is fairly easy to understand. Let me draw a parallel: Buy a camera - cost £100, but you need to save up for it. £50/wk for 2wks £ 2/wk for 50wks £25/wk for 4wks £ 4/wk for 25wks or any combination in between. This is a combination of Quantity and Time: Quantity is aperture Time is shutter speed Let’s look at them individually and take the easier one first Shutter Speeds
You will make mistakes!! Let's say the ‘Correct exposure’ for a scene is 125th sec @ f8. 1 stop 60th @ f11 1 stop 250th @ f5.6 2 stops 500th @ f4 2 stops 30th @ f16 3 stops 1000th @ f2.8 3 stops 15th @ f22 All these combinations will give the same exposure - but not the same effect. ISO ratings Scale refers to sensitivity of CCD - the higher the number the quicker the response. Low number - 25 ISO slow High number - 800 ISO fast 100 200 400 800 etc. also doubles/halves. Higher number leads to grain/digital noise Definition - Exposure is the amount of light allowed to reach a CCD via a combination of aperture and shutter speed. Conclusion - Aperture and shutter speed is the way light is controlled to enable an exposure to be made. by Neil Blair Here's a simple way to add a border to the edge of an image using any flavour of Photoshop (Elements or Photoshop itself):
by Neil Blair 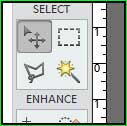 |
Archives
July 2024
Categories
|


 RSS Feed
