
|
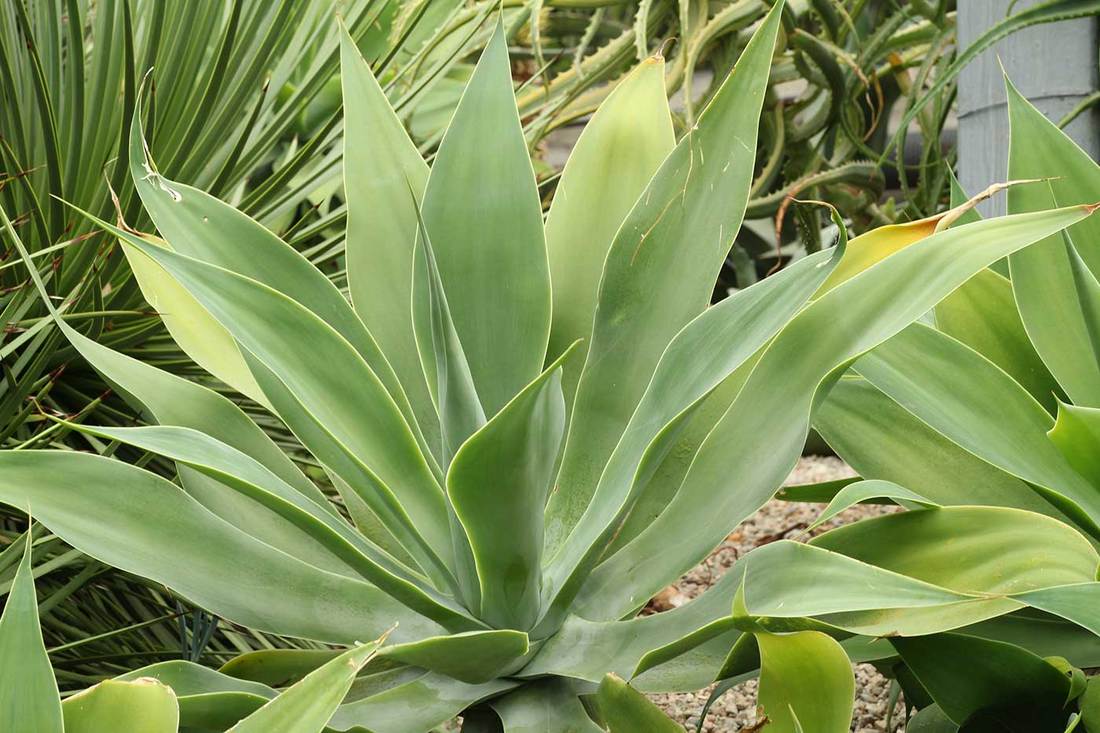
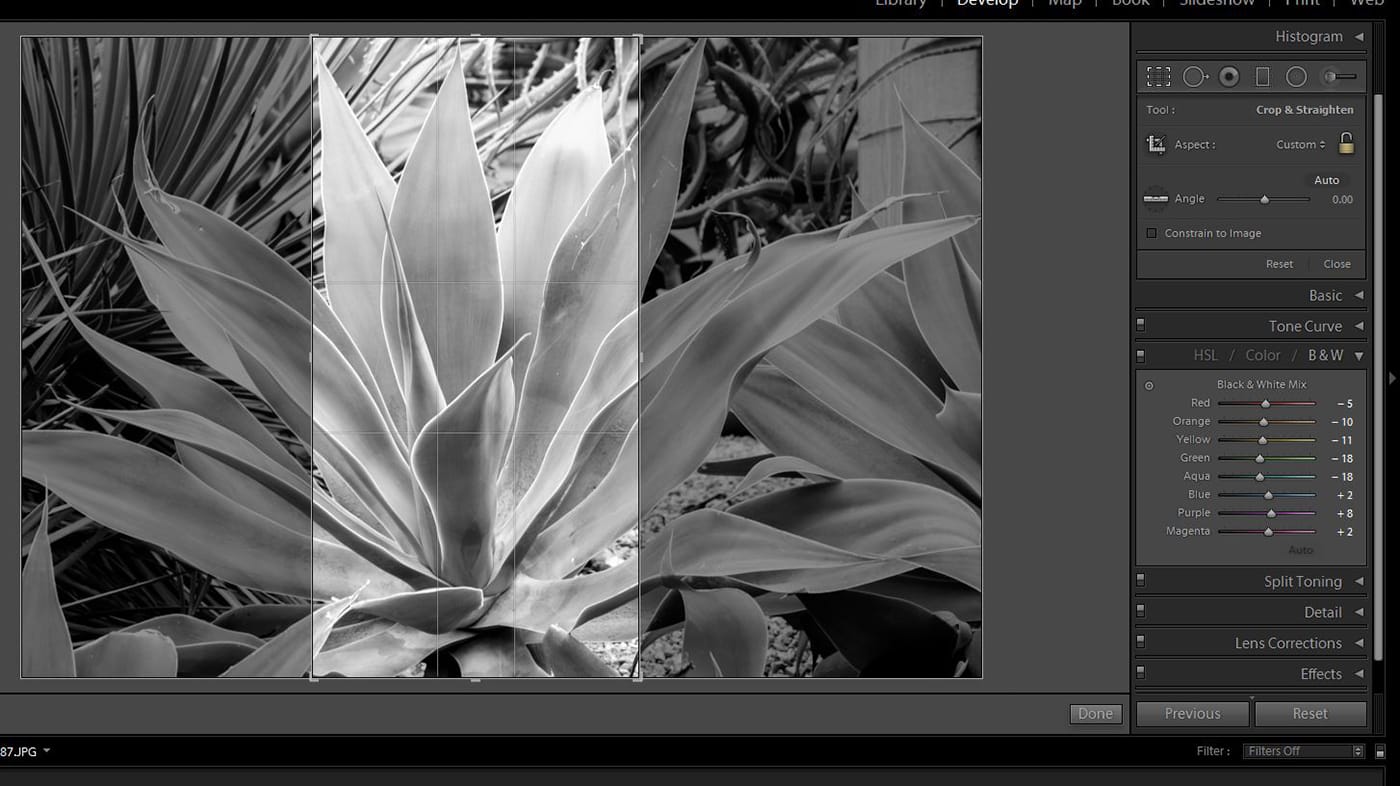
[This post shows how one of the images in last month's Club competitions was produced.] The start image in this guide was a jpeg. The original I used for the actual image was a RAW file. The steps described here are the same. The original image is the colour one shown at the left and the final image is on the right - click on the images to see larger versions. 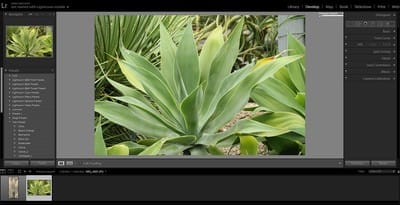 Step 1 - Load image into Lightroom. 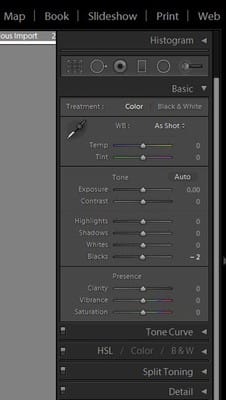 Step 2 - I adjusted the BLACK and WHITE sliders while holding down the ALT key to get the effect I wanted. Step 3 - I moved the HIGHLIGHT slider all the way to the left. Step 4 - I adjusted the lens correction to lens used.
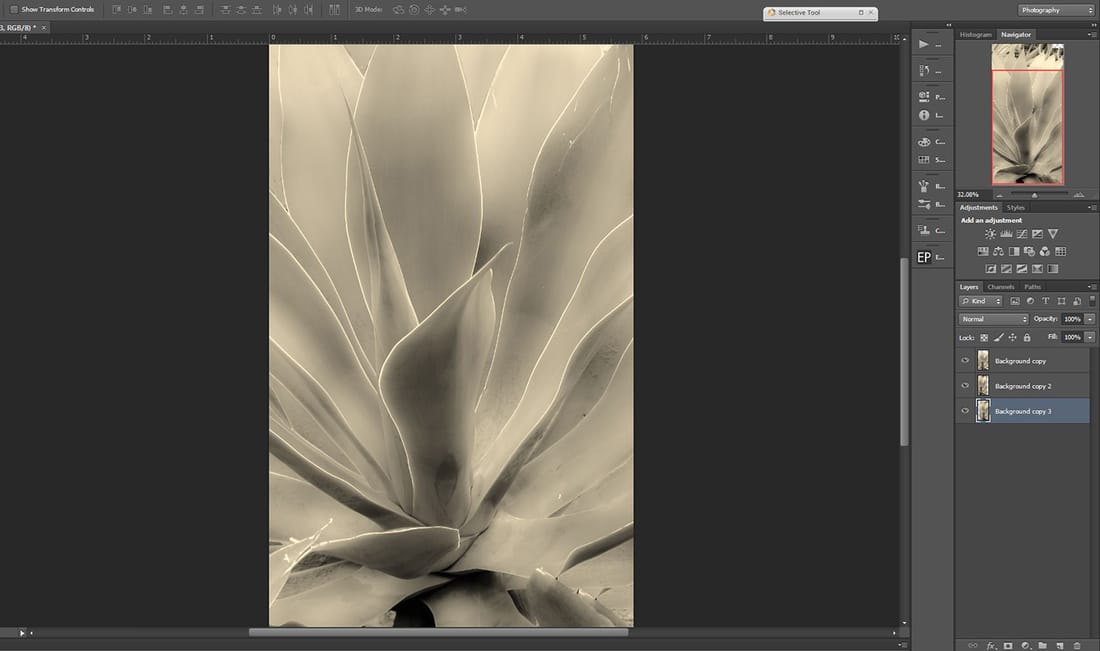
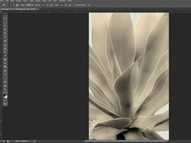 Step 7 - The image was then opened in Photoshop. Step 8- The clone tool was then used to repair damaged edges and flaws on the leaves.
Step 11 - The finished image was then saved as a jpeg at the right size for the Club's competitions.
by George Hay Comments are closed.
|
Archives
April 2024
Categories
|

 RSS Feed
