
|
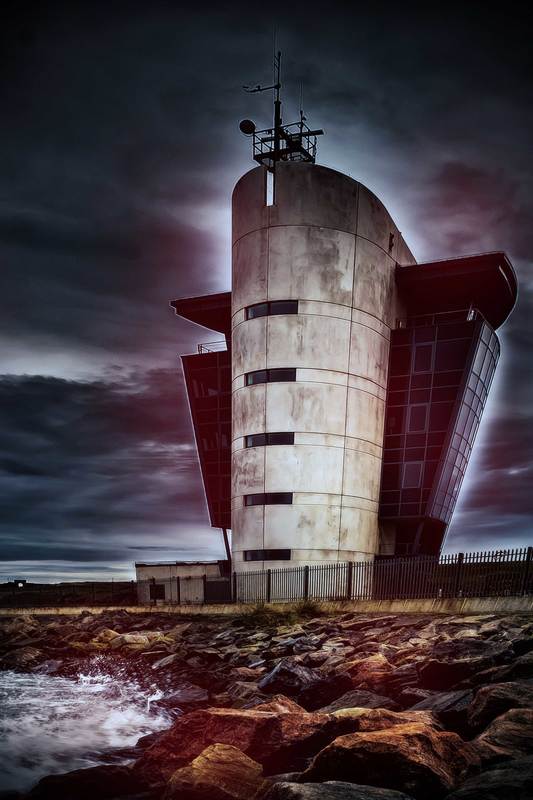
This "how-to" uses Photoshop CS6 to create a Lomograph effect. A Lomograph is created by processing slide film in negative chemicals, and print film in slide chemicals. Here are the before (on the left) and the after (on the right) images - click on them for a larger version. The start image has been adjusted a little in Photoshop before starting on this process.
1 – Load your image into Photoshop 2 – Click the icon at top of layers palette, and select Convert to Smart Object convert the image into a Smart Object, this will allow non-destructive adjustment to the image as well as allowing adjustments to be adjusted. 3 – Go to the Filter menu and choose Lens Correction. 4 – Click on the Custom Tag and adjust the Vignette Slider all the way to the left, then click OK. 5 – Go to the Filter menu and select Blur Gallery, choose Iris Blur. 6- On the image adjust the Blur by placing the cursor on the Ring, and drag to near the edge of the image. 7 – To adjust the amount of blur, drag the Blur Slider or Type in the amount. I used a value of 5px then click OK at the top of the frame. 8 – Next go to the Filter menu and choose Sharpen, and then select Unsharp Mask. Set unsharp mask Amount to 80%, the Radius to 2.0 pixels, and adjust the Threshold to 0, click OK. This will add contrast to all the edges. 9 – Click the Adjustment Layer icon and choose Colour Lookup. Click on the Load3DLUT menu and choose filmstock_50.3dl. 10 – Click the Adjustment Layer icon again and click Photo Filter, I used Cooling Filter(82). You can experiment with the other filters too. 11 – Next I added a few Light Leaks. Make a new layer and change the Blend Mode to Linear Dodge. 12 – Select the Brush Tool and set the Hardness to 0, and the Opacity to 40%, and the Size to 600 pixels 13 – Change the Foreground Colour to Bright Red. 14 – Finally use the Brush Tool to click around the image to get your desired effect. by George Hay Last week saw the results for 3 of our more specialised competitions announced, they are:
|
Archives
April 2024
Categories
|
 RSS Feed
